
There’s something about a home filled with greenery that makes it feel instantly more welcoming. A leafy plant on a shelf, a little ceramic pot beside a sunny window, or a beautiful plant stand tucked into an empty corner can change the entire mood of a room.
But here’s the thing: you don’t need to spend hundreds of dollars on matching planters or designer home decor to get that look.
One of my favorite ways to make a home feel more personal is to create a small plant display using a few simple materials, a little creativity, and things you may already have around the house. The result is a cozy, collected look that feels intentional without looking overly decorated.
This DIY project is perfect for anyone who loves indoor plants, enjoys weekend crafting, or wants to refresh a living room, bedroom, entryway, or home office without buying all new furniture.
The best part? You can customize the colors, textures, and size to match your own home.
Why This Simple DIY Plant Display Works So Well
A plant display does more than hold your plants. It gives them a place in your home’s overall design.
A plain corner can feel finished with a tall plant stand. A small shelf can become a charming green accent. Even a simple collection of thrifted pots can look beautiful when the colors and heights work together.
This project is especially appealing because it combines three things that make home decorating enjoyable:
- It is affordable.
- It can be customized to your personal style.
- It adds greenery without requiring a major room makeover.
For an American home, this look works beautifully with farmhouse, modern organic, cottage, Scandinavian, and relaxed boho interiors. Think warm wood, cream-colored ceramics, woven baskets, and healthy green leaves.
You can make the display feel polished and expensive while keeping the actual project simple.
What You’ll Need
The materials depend on the size of the display you want to create. For a small shelf arrangement, you may only need a few items.
Basic materials
- One small wooden shelf, plant stand, or sturdy side table
- Two or three small plant pots
- A mix of indoor plants
- Sandpaper, if you are refinishing wood
- Paint or wood stain, if desired
- A paintbrush
- A clean cloth
- A measuring tape
- A tray or saucer for protecting furniture from water
You can find many of these materials at home improvement stores, craft stores, thrift shops, or even in your own storage closet.
If you already have an old wooden stool, a small bookcase, or a plant stand that has seen better days, you may not need to buy anything except paint and a few plants.
A budget-friendly shopping tip
Before buying new supplies, take a look around your home.
Do you have an unused side table? An old wooden crate? A ceramic pot that could use a fresh coat of paint? A basket that is sitting empty?
Sometimes the most attractive DIY projects begin with something you already own.
Step 1: Choose the Perfect Spot
Before you start painting or arranging anything, decide where your plant display will live.
A bright living room corner is a classic choice, but it is not your only option.
You could place a small arrangement:
- Beside a cream sofa
- Near a bright kitchen window
- On a bedroom dresser
- In a home office corner
- Beside an entryway console
- On a covered porch, if the materials and plants are suitable
Think about how the display will look from the doorway and from the main seating area.
A good plant display should feel like part of the room rather than something that was added at the last minute.
Pay attention to the light
This is one of the most important parts of the project.
Different houseplants need different amounts of light. A sunny window may be perfect for some plants but too intense for others.
For example, many pothos varieties can adapt to lower light, while some plants need brighter indirect light to stay healthy. Always check the light requirements of your particular plant before choosing its location.
If you are working with a darker room, consider plants that tolerate lower light rather than placing a sun-loving plant in a spot where it will struggle.
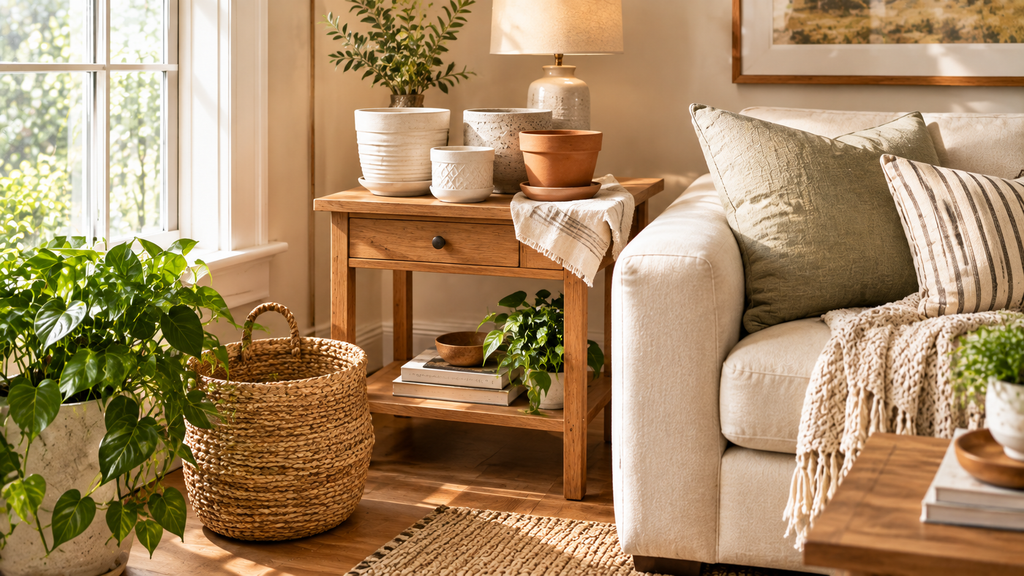
Step 2: Refresh an Old Wooden Stand
This is where the project starts to feel creative.
If you have an old wooden stool, plant stand, or small side table, you can give it a completely new look with paint or stain.
For a warm, natural home style, I love the look of light oak, honey-toned wood, or a soft natural finish. If your room has more modern decor, a warm white or muted beige finish can look beautiful.
How to refresh the wood
Start by cleaning the piece with a slightly damp cloth. Remove dust, dirt, and any loose debris.
If the surface is rough, lightly sand it until it feels smooth. Wipe away the sanding dust before painting or staining.
If you are painting, use a suitable paint for the material and follow the product’s drying instructions. A small brush can help you reach corners and edges without making a mess.
For a more natural look, you can use wood stain if the existing wood is suitable for staining. Test your chosen finish on a small hidden area first.
Let everything dry completely before placing plants on the stand.
Don’t worry about making it perfect
One of the nicest things about DIY home decor is that it does not have to look factory-made.
A few natural wood variations, a slightly handmade finish, or a simple painted surface can give the piece character.
The goal is to create something that looks like it belongs in your home.
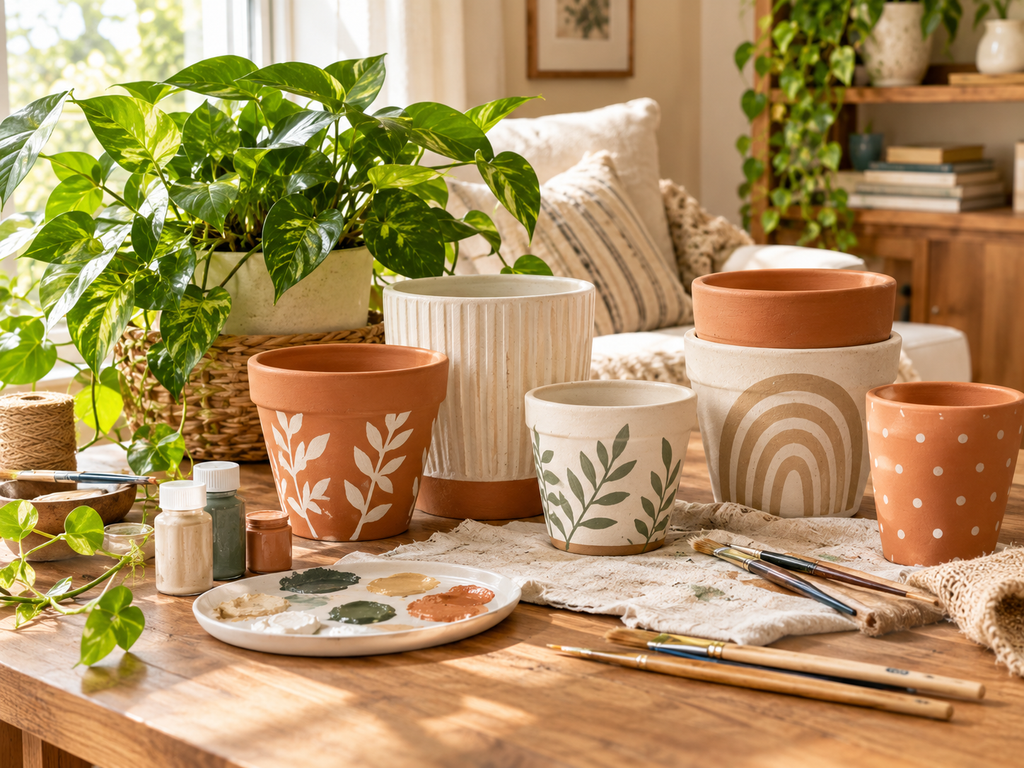
Step 3: Give Your Plant Pots a Simple Makeover
You can create a beautiful plant display using ordinary pots, but customizing a few of them makes the arrangement feel more personal.
One easy idea is to use a neutral color palette.
Try:
- Cream
- Warm white
- Soft beige
- Terracotta
- Light gray
- Natural stone tones
These colors work well with green foliage and are easy to coordinate with most home interiors.
Easy painted pot idea
Start with a clean, dry pot. If you are painting a ceramic or terracotta pot, choose a paint appropriate for that material and follow the manufacturer’s instructions.
You could paint the entire pot one color, add a simple stripe around the rim, or create a subtle geometric pattern.
For a more handmade look, try a small brush and slightly uneven lines. A simple design can look charming without requiring advanced crafting skills.
If you are using a pot for a plant, make sure it has suitable drainage and use a saucer to protect your furniture.
A small detail that makes a difference
Instead of painting every pot, consider leaving one or two in their natural finish.
A combination of painted ceramics, terracotta, and woven textures often looks more interesting than a collection of identical pieces.
The contrast makes the display feel collected over time.
Step 4: Choose Plants That Look Beautiful Together
Now comes the fun part: choosing the plants.
You do not need a huge collection. Three carefully selected plants can be enough to create a lovely display.
For a beginner-friendly indoor arrangement, consider plants such as:
Pothos
Pothos is a popular choice for shelves because its trailing vines can soften the edges of a display.
It looks especially pretty in a small hanging pot or on a higher shelf where the leaves can cascade naturally.
Spider plant
Spider plants have long, arching leaves that add movement and texture.
They work well in hanging planters, on plant stands, or in a small pot near a bright window.
African violet
If you want a little color, an African violet can add beautiful flowers to a neutral arrangement.
Its compact size makes it useful for smaller shelves or tabletops.
ZZ plant
A ZZ plant can bring a polished, leafy look to a room. It is often chosen for indoor spaces where a low-maintenance plant is desired, though its exact light and watering needs still matter.
A note about pets
If you have a dog or cat, check whether each plant is considered safe for your pets before bringing it home.
Plant toxicity information can vary by species and cultivar, so use a reliable veterinary or botanical source when checking a plant.
Also, keep plant stands stable and make sure pots cannot easily fall if bumped.
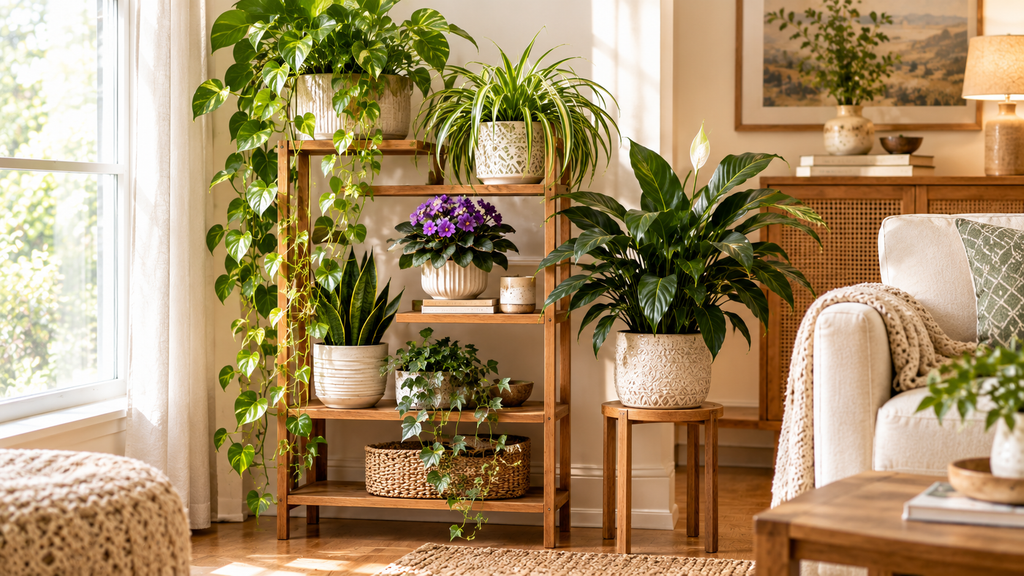
Step 5: Arrange the Plants Like a Designer
You do not need to be an interior designer to create a beautiful arrangement.
The easiest trick is to use different heights.
For example:
- Place the tallest plant toward the back.
- Put a medium-sized plant beside it.
- Add a smaller plant toward the front.
- Let one trailing plant soften the edges.
This creates a layered look that feels natural.
Use the rule of three
A group of three plants often looks balanced without feeling too symmetrical.
You could combine:
- One tall leafy plant.
- One medium plant with interesting texture.
- One small flowering or trailing plant.
If your stand has multiple levels, place the taller plant on the lower level and use smaller pots on top.
The exact arrangement will depend on the size of your furniture and the light in your room.
Leave a little breathing room
One common mistake is trying to fill every inch of a shelf.
Plants need room to grow, and your display will look more elegant if there is a little open space between the pots.
A few books, a small ceramic bowl, or a simple decorative object can complete the look without making the shelf feel crowded.
Step 6: Add One or Two Handmade Details
This is the part that makes your project feel different from a store-bought display.
You could add a small handmade label, a painted wooden sign, or a simple woven accent.
A few ideas:
Handmade plant labels
Create small labels from wooden craft sticks or thin pieces of wood.
You can write the plant names by hand or paint a simple design on each one.
This is especially useful if you have several similar plants or enjoy learning their names.
A woven basket
A woven basket can hide an ordinary plastic nursery pot while adding texture to the display.
Make sure the basket is suitable for the pot size and that water does not collect inside it.
If you use a basket as a decorative cover, remove the pot when watering if necessary and allow excess water to drain fully.
A small handmade tray
A wooden tray beneath a few small pots can help group the arrangement together.
It also makes it easier to move the plants when cleaning or rearranging the room.
Choose a tray that is sturdy enough for the combined weight of the pots and plants.
Step 7: Style the Finished Display
Once everything is dry and your plants are arranged, step back and look at the display from a distance.
Does it feel balanced? Is there enough space? Do the colors work with your sofa, walls, and furniture?
This is where you can make small adjustments.
Maybe one pot needs to move a little higher. Maybe the tallest plant would look better on the opposite side. Perhaps the arrangement needs one less decorative object.
The best styling often comes from trying a few different combinations.
Keep the colors simple
A neutral palette is a great starting point because it allows the plants to become the main attraction.
Warm wood, cream ceramics, woven baskets, and green leaves create a relaxed look that works in many American homes.
If you love color, you can always add a small accent through a painted pot or flowering plant.
How to Keep Your DIY Plant Display Looking Good
A beautiful plant display is not just about how it looks on the first day.
A little regular care will help keep it attractive.
Check the plants regularly
Look at the leaves for signs of stress, dust, or pests.
Water according to each plant’s needs rather than following one schedule for every pot.
Check the soil before watering, and make sure your pots have suitable drainage.
Keep the furniture protected
Water can damage wood and leave marks on shelves or tables.
Use saucers or waterproof trays beneath pots, and wipe up spills promptly.
If you are using a wooden stand, make sure the finish is suitable for the environment and protect it from standing water.
Rotate the display
Every so often, you can move a plant or change the arrangement.
This is an easy way to refresh the look of your room without buying new decor.
You might be surprised how different the same plants can look in a slightly different arrangement.
A Few Budget-Friendly Ways to Make It Your Own
The beauty of this DIY is that you can make it as simple or as creative as you like.
If you are on a tight budget, start with one plant stand and two pots.
If you have more space, create a larger arrangement with a mix of shelves, baskets, and different plant heights.
You could also make a matching set of painted pots for a kitchen windowsill or create a small plant corner in your home office.
For a seasonal update, change the colors of the pots or add a small decorative accent that fits the time of year.
The project does not have to be finished in one afternoon. You can build it slowly as you find pieces you love.
Final Thoughts
A cozy home does not come from buying everything new.
Sometimes, the most beautiful spaces are the ones that combine a few thoughtful details with things you already have.
This DIY plant display is a simple way to add greenery, texture, and personality to your home without taking on a major renovation.
Whether you choose a painted terracotta pot, a refreshed wooden stand, or a simple collection of plants on a shelf, the finished result can make your room feel warmer and more inviting.
Start small, choose plants that suit your space, and let your own style guide the project.
After all, the best home decor is the kind that feels like you.
Have you tried creating your own DIY plant display? Share your favorite ideas in the comments and tell us which room you would decorate first.