
There is a quiet revolution happening in American homes. We are moving away from cookie-cutter, mass-produced big-box store decor and leaning into spaces that tell our own unique stories. There is a deep sense of satisfaction that comes from looking at an object in your home and saying, “I made that.”
DIY and crafting are not just about saving money (though that is a fantastic perk); they are about infusing your personality, creativity, and warmth into every corner of your living space. Whether you are a seasoned artisan with a garage full of tools or a first-timer armed with nothing but a glue gun and a dream, there is a project in this guide for you.
Let’s explore five stylish, approachable DIY home decor projects designed to elevate your American home without breaking the bank.
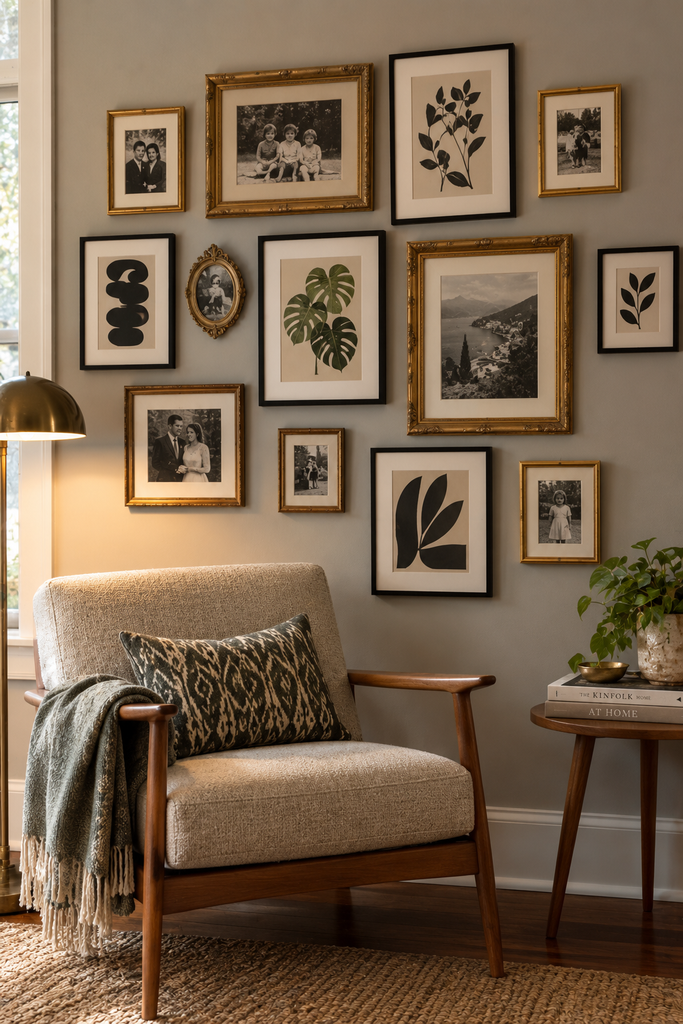
1. The Statement Gallery Wall: Curating Your Story
Forget expensive, pre-framed art prints. The most impactful way to add personality to a large wall—like in a living room or hallway—is with a personalized gallery wall. This isn’t just about hanging random pictures; it’s about curating a collection that reflects you.
Why It Works: A gallery wall immediately draws the eye and serves as a conversation starter. It’s flexible, allowing you to mix high-end thrifted finds with inexpensive personal photos and handmade art.
How to Do It:
- Collect Your Pieces: Start collecting frames in varying sizes and finishes (don’t be afraid to mix gold, black, and natural wood). Fill them with family photos, vintage postcards picked up on a cross-country road trip, prints from independent artists on Etsy, or even simple pressed botanicals.
- The Layout: Before putting a single nail in the wall, lay all your frames out on the floor. Arrange them until you find a balanced composition. Pro tip: Trace each frame onto kraft paper, cut out the shapes, and tape them to the wall to test the layout.
- Hanging: Start from the center frame and work your way out, maintaining consistent spacing (about 2 to 3 inches is standard). Use command strips for lightweight items to avoid wall damage, or picture wire and nails for heavier pieces.
2. Upcycled Mid-Century Planter: Bringing the Outdoors In
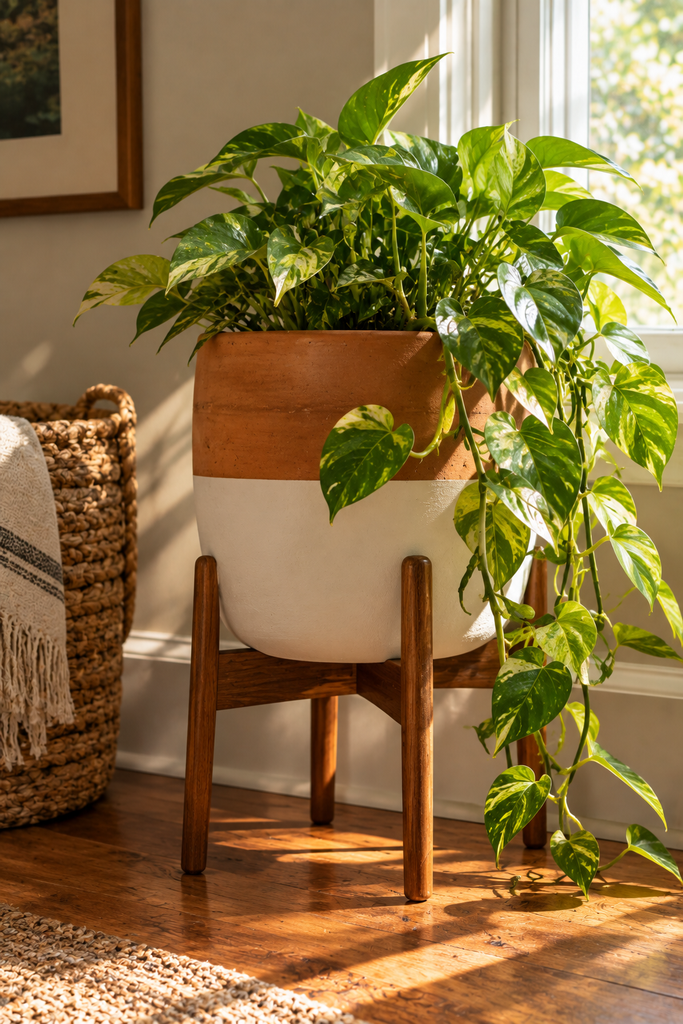
Houseplants are having a massive moment in American interior design, but stylish ceramic planters can cost a fortune. This DIY turns a simple, affordable terracotta pot into a chic, mid-century modern statement piece.
Why It Works: It merges the biophilic trend (bringing nature indoors) with the popular mid-century aesthetic. It’s a high-impact look for a very low cost.
How to Do It:
- What You Need: A basic terracotta pot and saucer, a can of matte white spray paint, painter’s tape, and a piece of scrap wood (or a pre-made wooden plant stand base).
- Painting: Tape off the top rim of the pot to create a sharp horizontal line. Spray paint the bottom half of the pot (below the tape line) with a crisp matte white. Give it a second coat if needed, then remove the tape. Leave the terracotta saucer unpainted for contrast.
- The Stand: You can build a simple ‘X’ frame stand with square dowels if you have basic woodworking tools. Alternatively, many craft stores or Amazon sell affordable mid-century wooden bases that you can simply place the painted pot into.
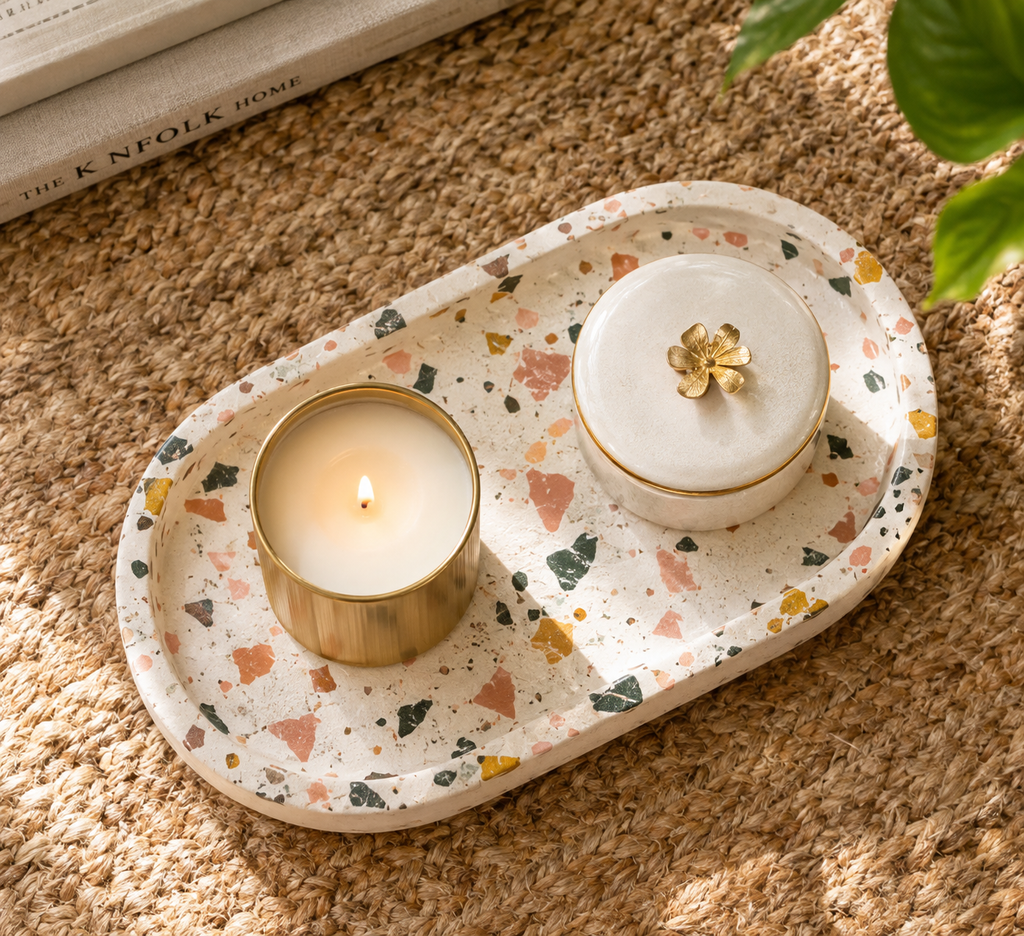
Terrazzo—a composite material of chips of marble, quartz, granite, glass, or other suitable material—is everywhere in high-end design. Recreate this look on a budget using clay and an unexpected material.
Why It Works: A terrazzo tray looks fantastic on a coffee table, nightstand, or entryway console, perfect for corralling keys, jewelry, or remotes. It’s functional art.
How to Do It:
- Materials: Polymer clay in three or four complementary colors (e.g., white, blush pink, mustard yellow, and charcoal gray), a small circular oven-safe tray mold (or just roll it flat), and a rolling pin.
- Creating the Chips: Take small chunks of your colored clay and roll them into thin “snakes.” Break or chop these snakes into tiny, uneven chips.
- Mixing: Roll out your main clay color (e.g., white) into a flat slab. Scatter your colored chips randomly over the slab. Roll over the slab again gently to embed the chips into the clay.
- Shaping and Baking: Drape your decorated clay slab over your inverted tray mold to give it a curved shape. Smooth the edges. Bake in the oven according to the clay manufacturer’s instructions (usually around 275°F for 15-30 minutes). Once cool, you have a beautiful faux stone tray.
4. Faux Woven Pendant Lamp: Adding Texture Above
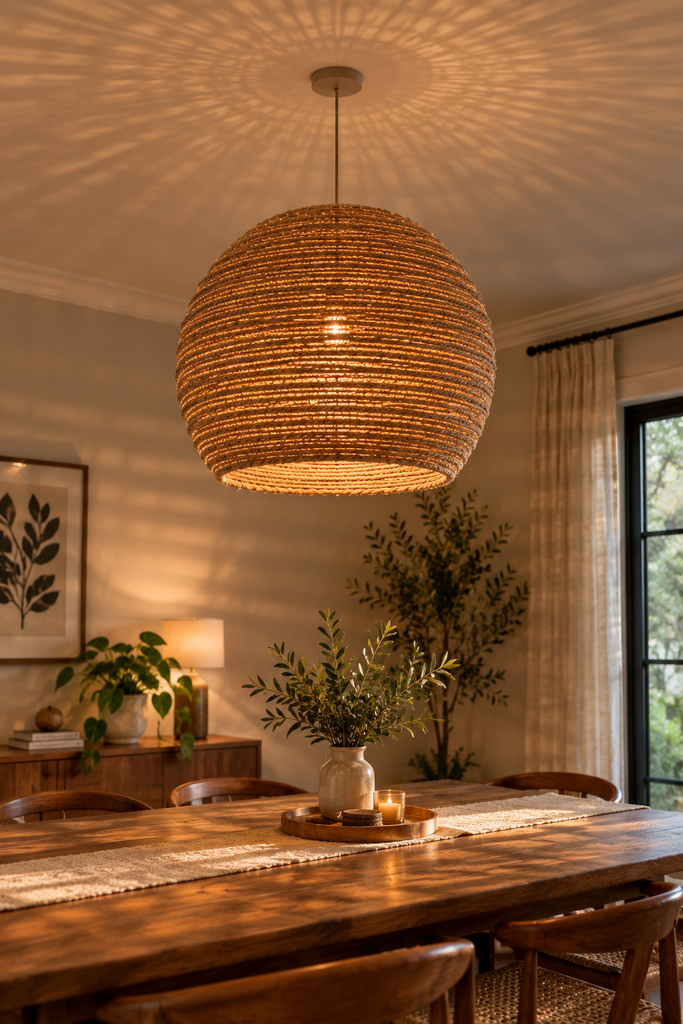
Statement lighting can be one of the most expensive parts of a home renovation. This DIY hack takes a simple IKEA paper lantern and transforms it into a textured, designer-style pendant.
Why It Works: Lighting sets the mood. A textured, woven pendant adds instant warmth and an organic feel, especially perfect for Scandinavian, Japandi, or bohemian-style homes.
How to Do It:
- The Base: Buy a basic, inexpensive round paper lantern from IKEA or a craft store. You’ll also need a pendant cord kit (which you can hardwire or just plug in with a ceiling hook).
- Creating the Weave: This part requires patience. Using a low-temp glue gun, start gluing thick, natural-colored jute or cotton macramé cord onto the paper lantern. Work in sections, spiraling the cord around the lantern, pressing it firmly as you go. Ensure the paper lantern is completely covered, creating a continuous woven texture.
- Installation: Once the glue is dry, install your new woven shade onto the pendant light kit and hang it in your desired spot.
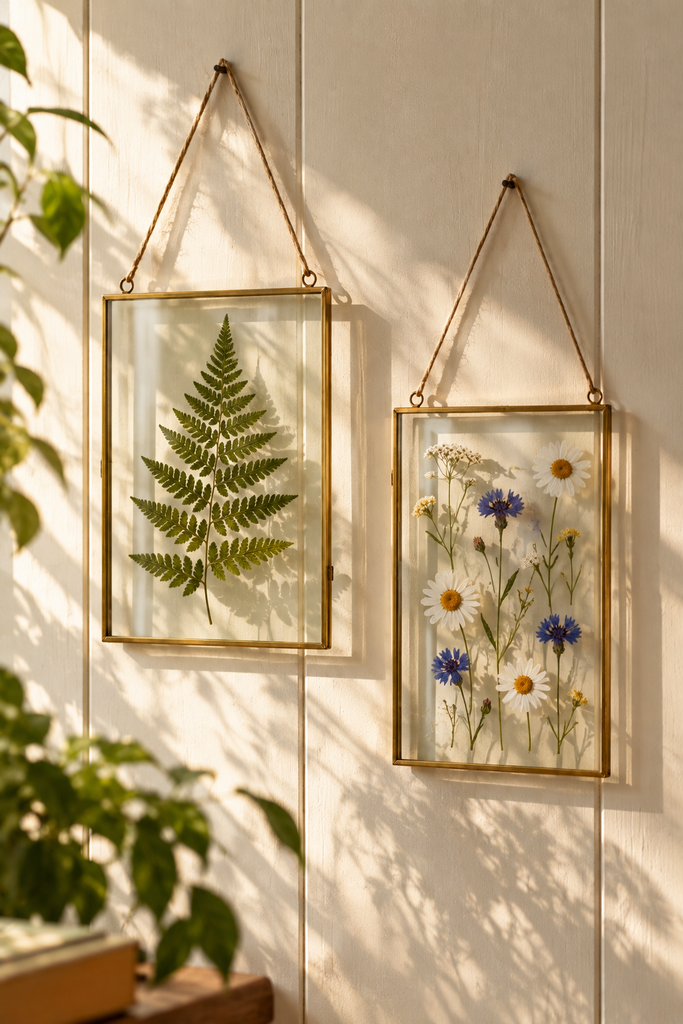
5. Pressed Flower Floating Frames: Delicate Botanical Art
Nothing softens a room like delicate botanical art. Instead of traditional heavy framing, create “floating” frames that showcase the natural beauty of pressed flowers.
Why It Works: This project is simple, elegant, and incredibly relaxing to make. It’s perfect for adding a touch of whimsy to a bookshelf or a small wall.
How to Do It:
- Pressing: Collect small, flat flowers and leaves (like ferns, hydrangeas, or daisies). Place them carefully between sheets of absorbent paper or parchment paper inside a thick book. Let them press for at least two weeks.
- Framing: Purchase two inexpensive matching frames that have clear glass and thin metal or wood borders (e.g., 5×7 inch “floating” or “glass sandwich” frames). Once your botanicals are flat and dry, arrange them artfully on the glass of one frame. Place the second piece of glass on top and secure it inside the frame. The thin borders will “sandwich” the glass together, creating a floating effect.
Your home should be a reflection of you—not just a page from a catalog. These five DIY projects are designed to be achievable, affordable, and, most importantly, fun. They allow you to roll up your sleeves, unleash your creativity, and build a home environment that is uniquely, authentically yours.
So pick a project, head to your nearest craft store or hardware store, and start revamping your space today!